Click here for the video with sound!
This year for the Moog Hackathon — Mason, Krish, and I created the "Moog Bed." It's a bed of nails that plays a Moog Werkstatt, using a similar circuit to what Krish, Mitcham, and I used for the Kalimba in 2018. We ended up creating 6 zones: 4 discrete areas that control keyboard on Werkstatt and 2 "analog" areas that affect the rate of the VCO and the cutoff for the VCF. This website serves to document the experience!
We aimed to find the missing connection between fear and music. The bed of nails is fear embodied, and it was in dire need of an auditory addition.
We didn't do too much research, but found this excellent presentation from David Willey at Pitt. It gave an estimated 1000 nails for ~2'x4.5' bed of nails. We ended up purchasing an 8'x 5' piece of MDF from Home Depot, in anticipation of wanting a larger bed in general. We also purchased ~2400 nails (They were 1-7/8", but we just picked at essentially random).
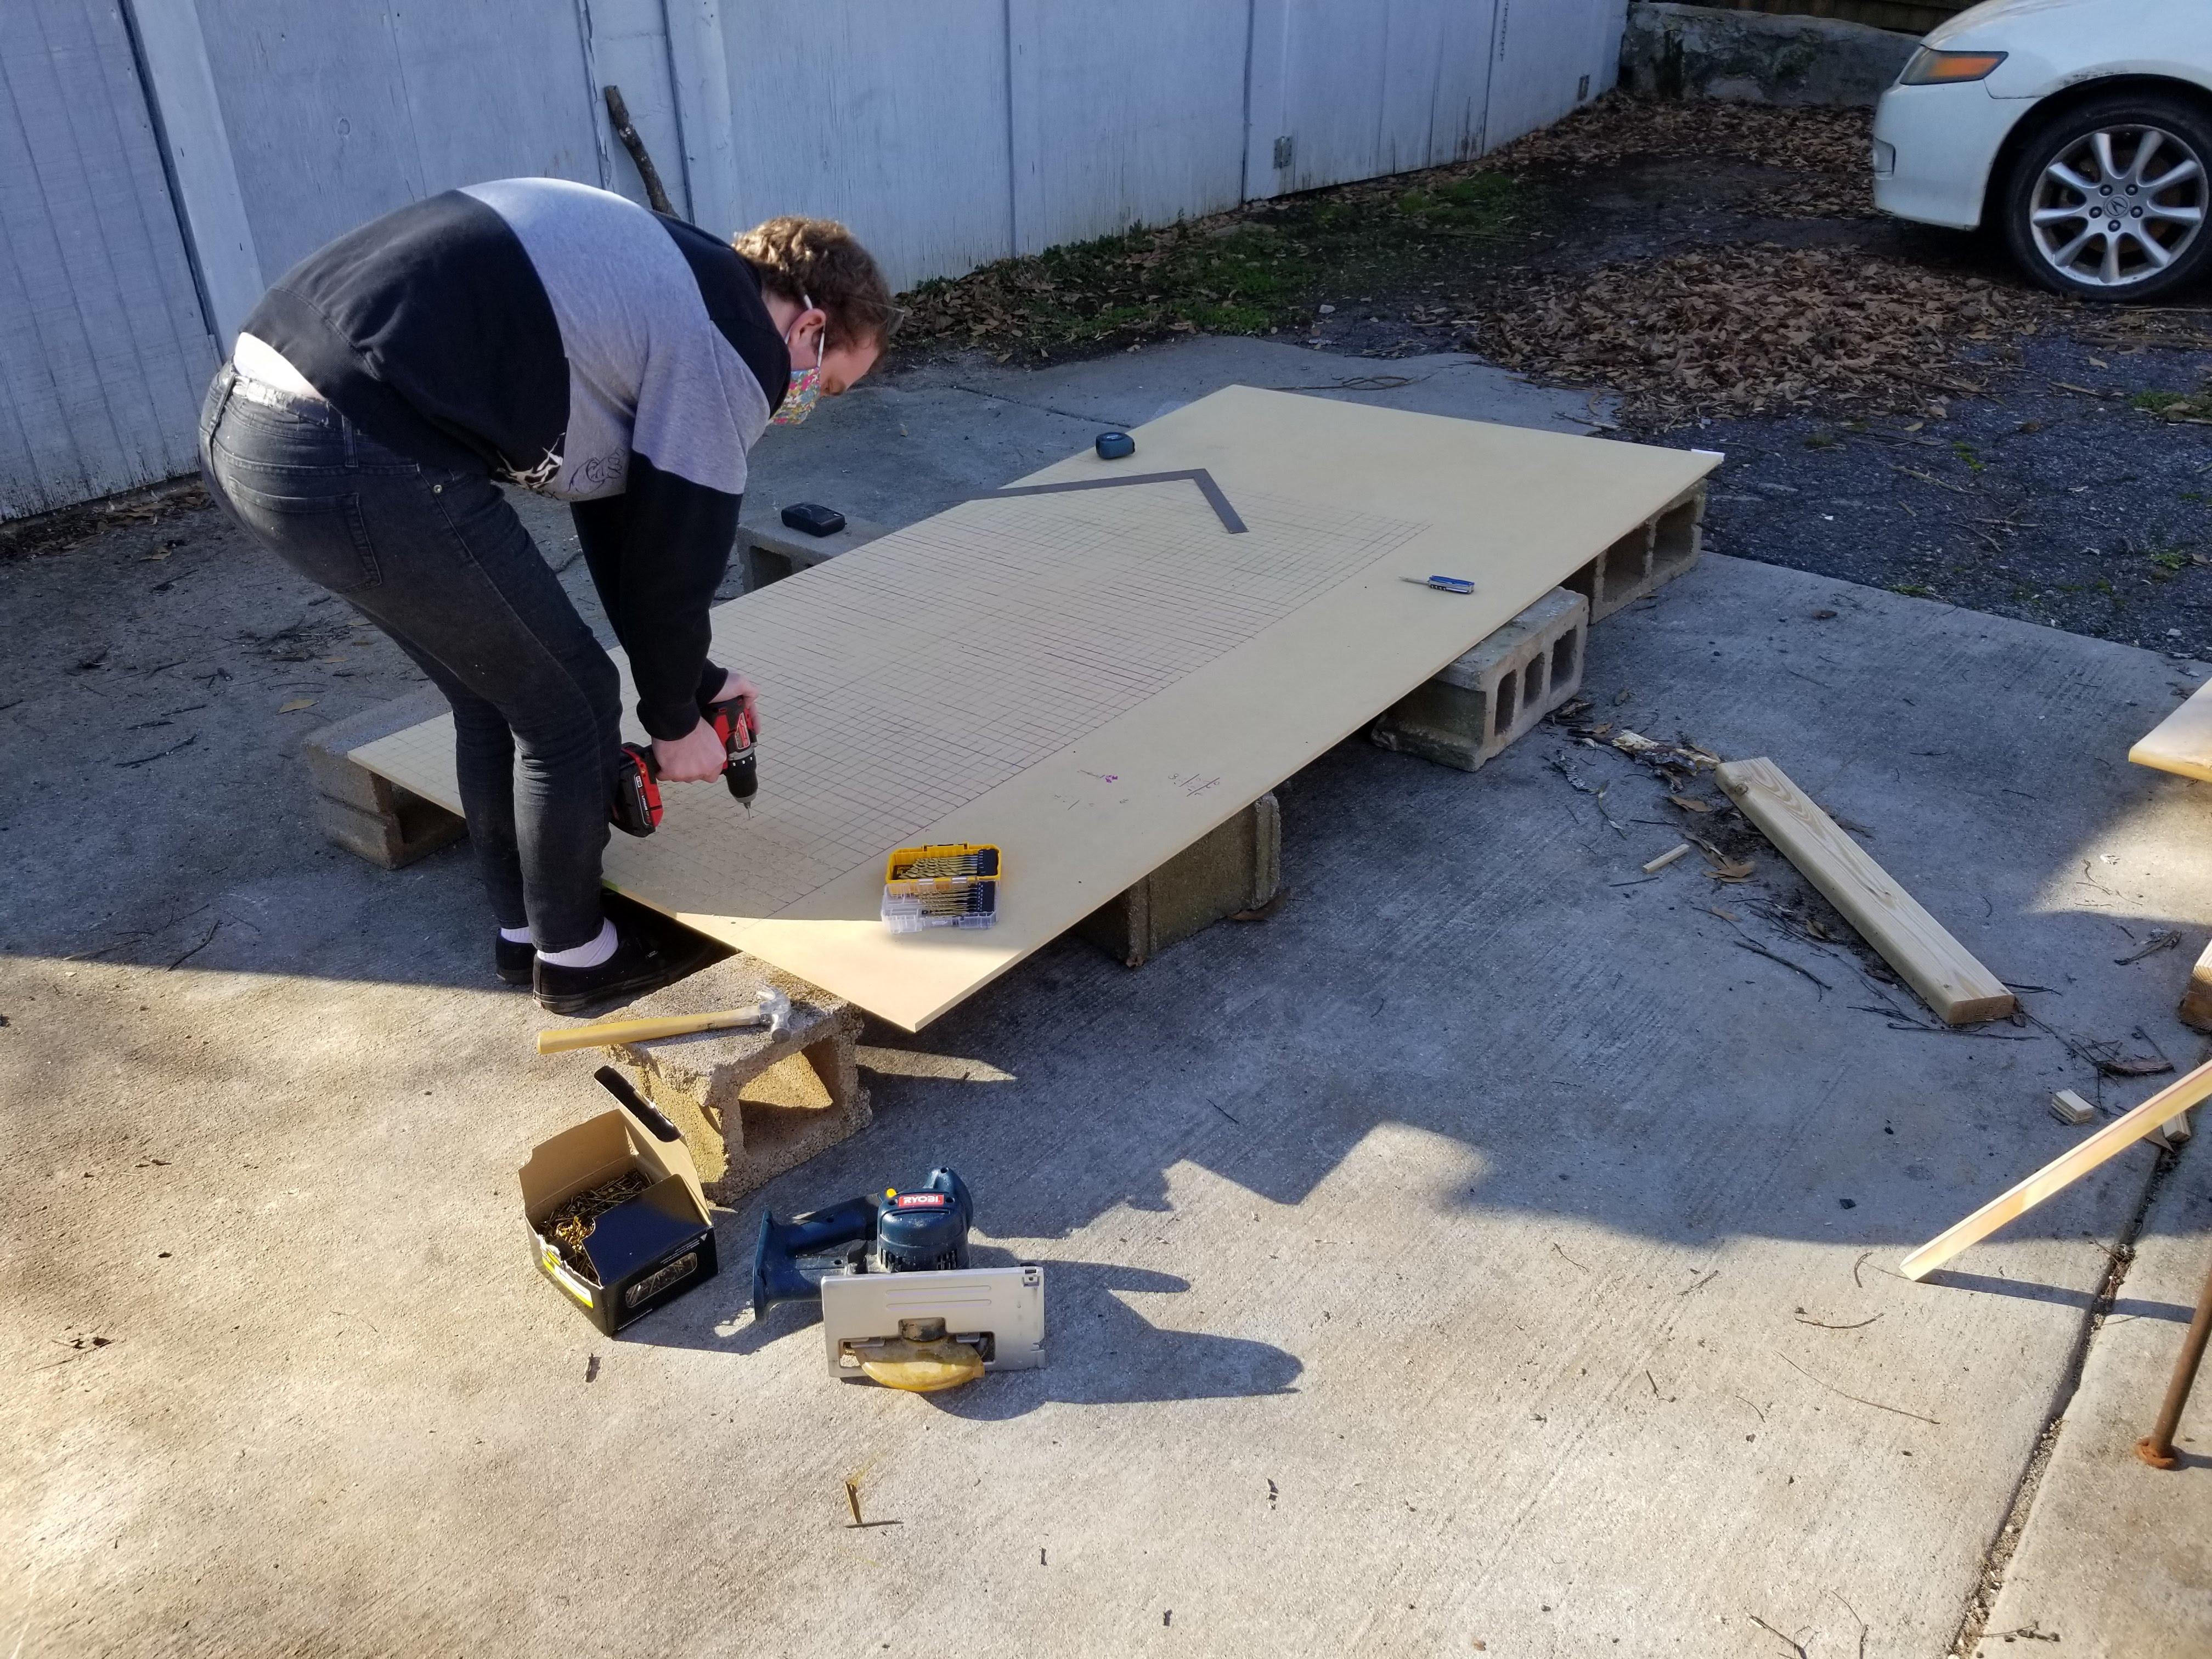
8'x5' seemed like too large of a grid, so we narrowed our bed down to 6'x3'. This is significantly larger than Willey's, and of course the number of needed scales to the square of the area, so we tried to keep it sane. We created 1"x1" grids across the outlined space, predrilled holes, and hammered a nail into each hole. It took us a really long time to do this; there were about 2000 nails needed. At the end of the night we had our (unsynthesized) bed of nails!
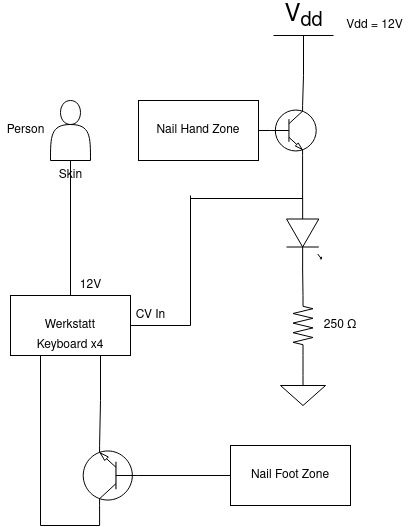
Our touch detection circuits were absolutely not fancy. See diagrams below. They're based on giving the body 12 volts and using that voltage to induce a current to turn on a BJT. These were wired to the Werkstatt's keys, in the case of the feet zones, and directly to CV's in the case of the VCO/VCF. It was honestly really surprising how much expresssion was possible with a dead simple circuit especially in the case of the VCO/VCF. As the Bed User touched more nails in the zone, the CV voltage increased. It also increased as the hand dug more into the nails.
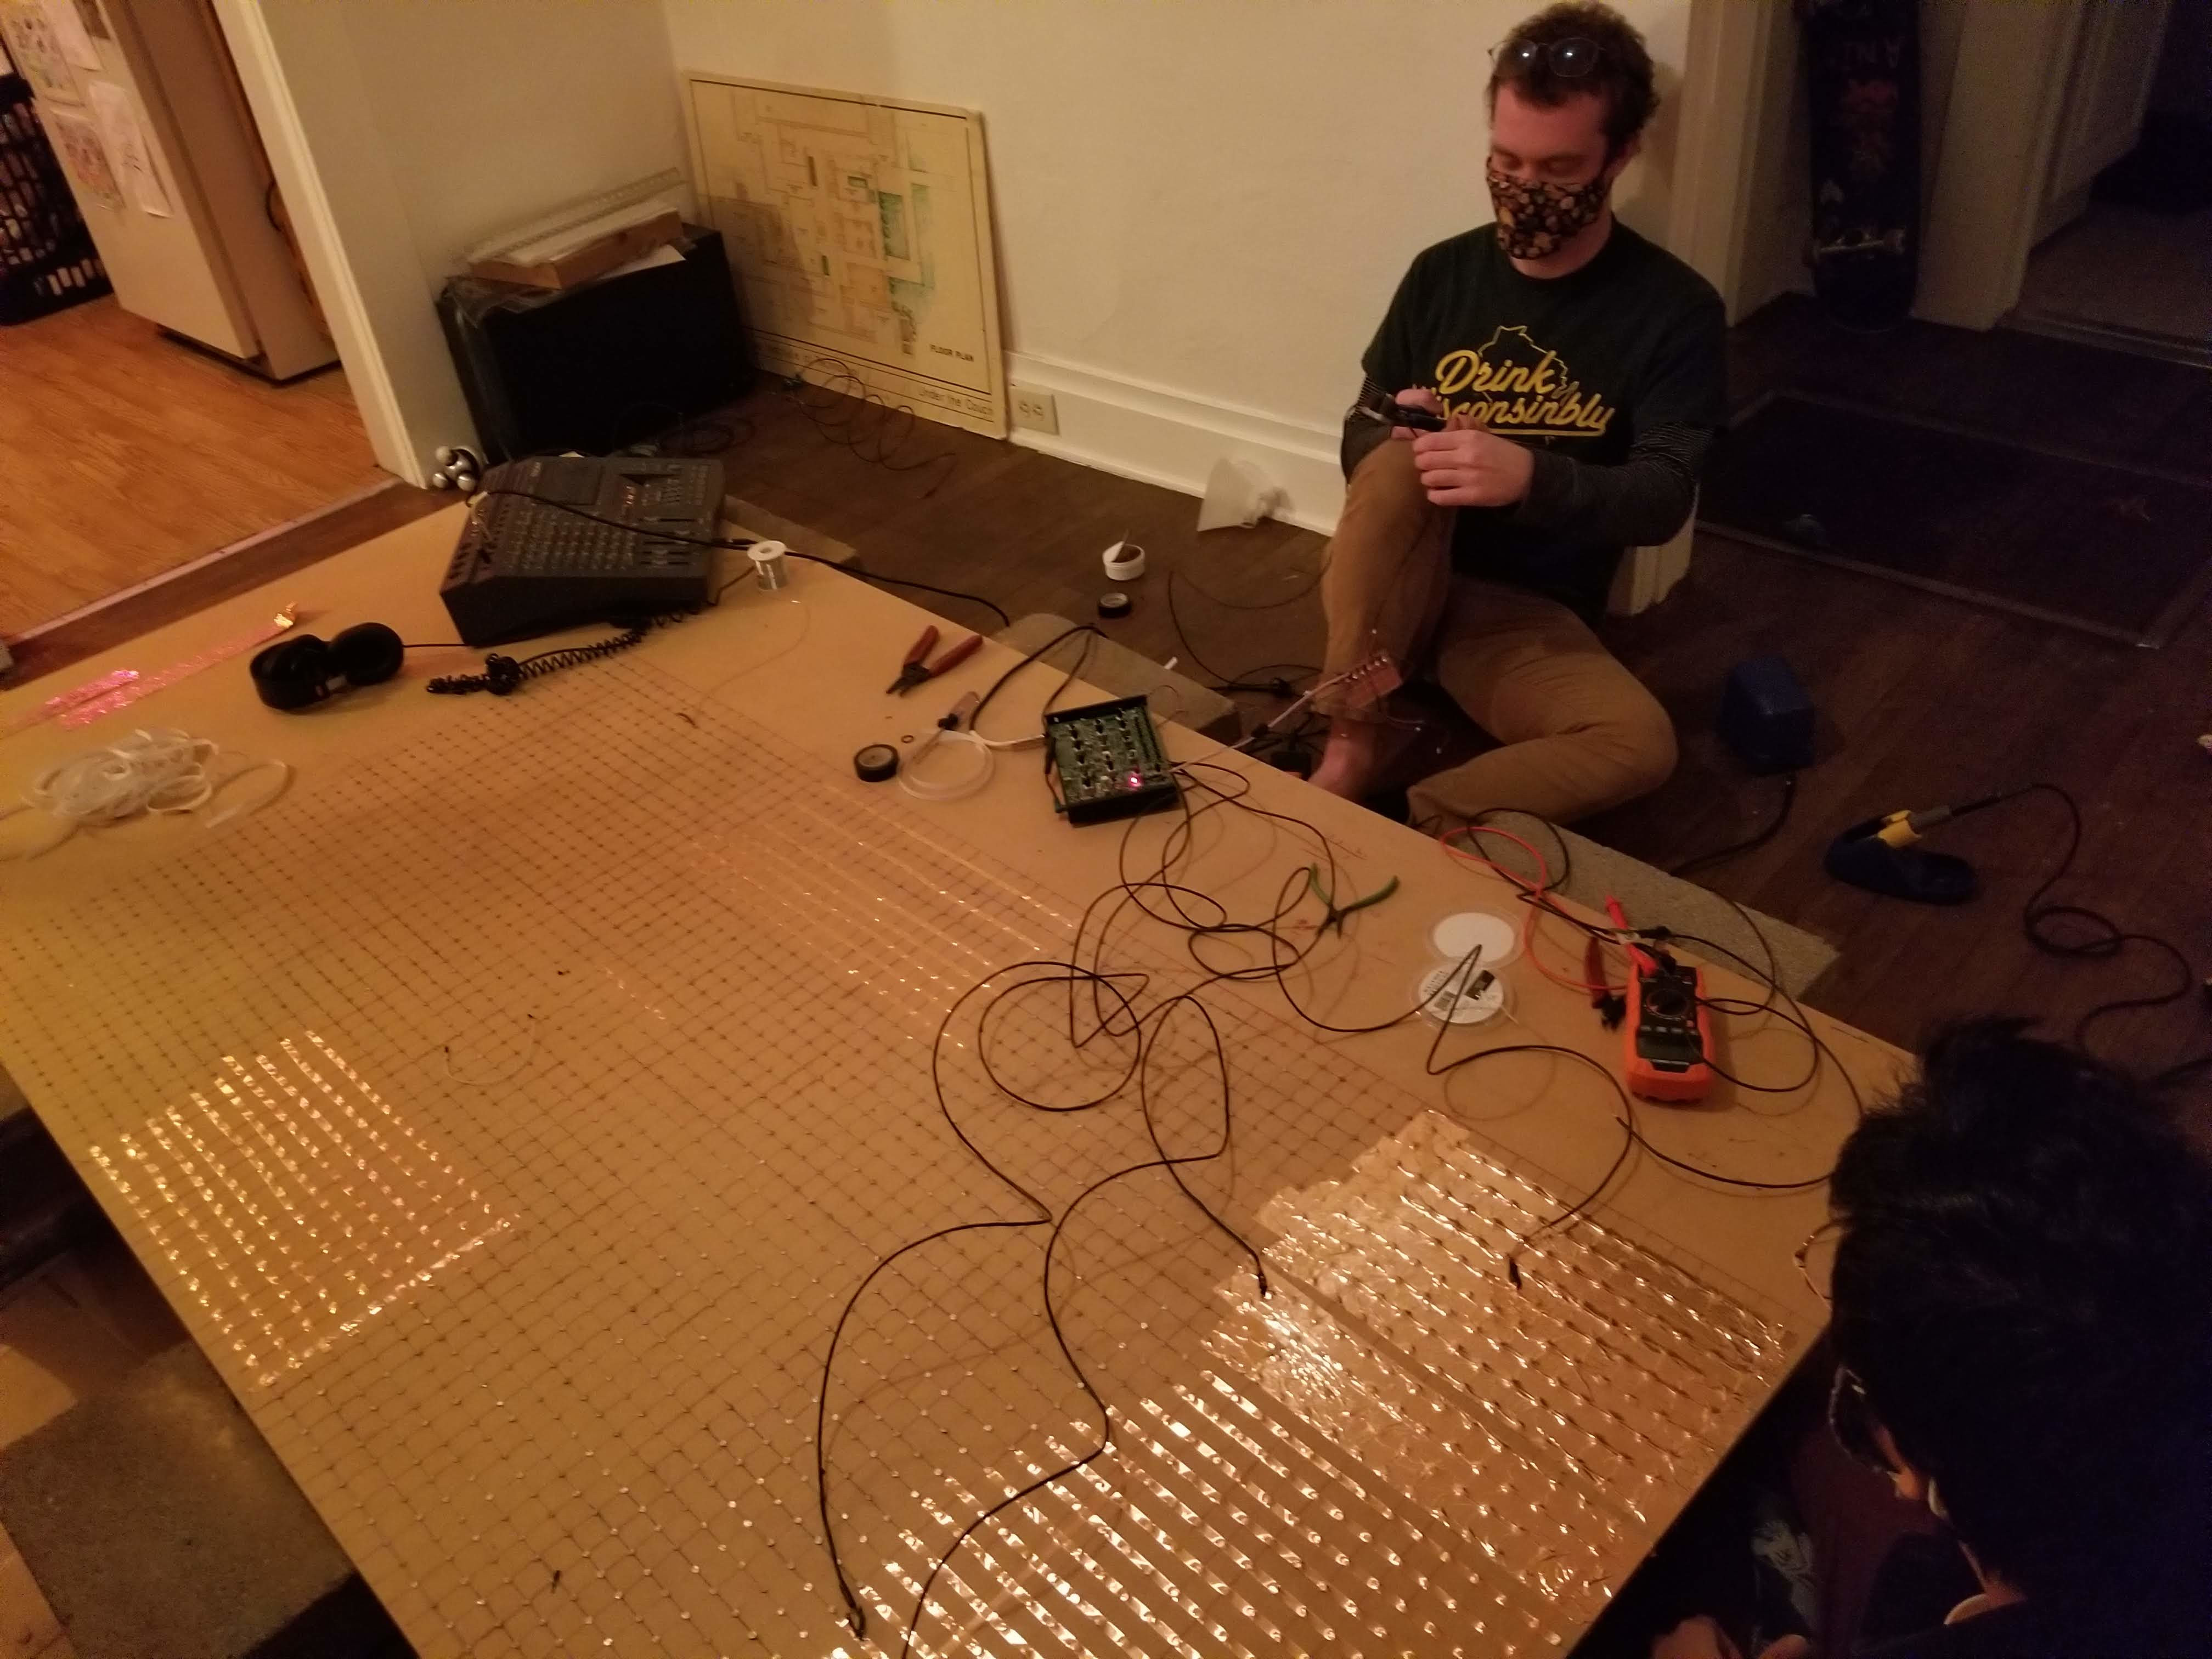
The zones were created by adding copper tape to the back of the nails to electrically connect them. The sizes and locations were decided by laying on the nail head side and approximating the locations of hands and feet. To connect to the touch circuits, Mason soldered wires directly onto the copper tape. We ran out of the multi-inch wide copper tape about halfway through building, and ran to Michael's to grab much thinner copper tape. Fortunately, the electrical connection still proved decent enough to transmit touch.
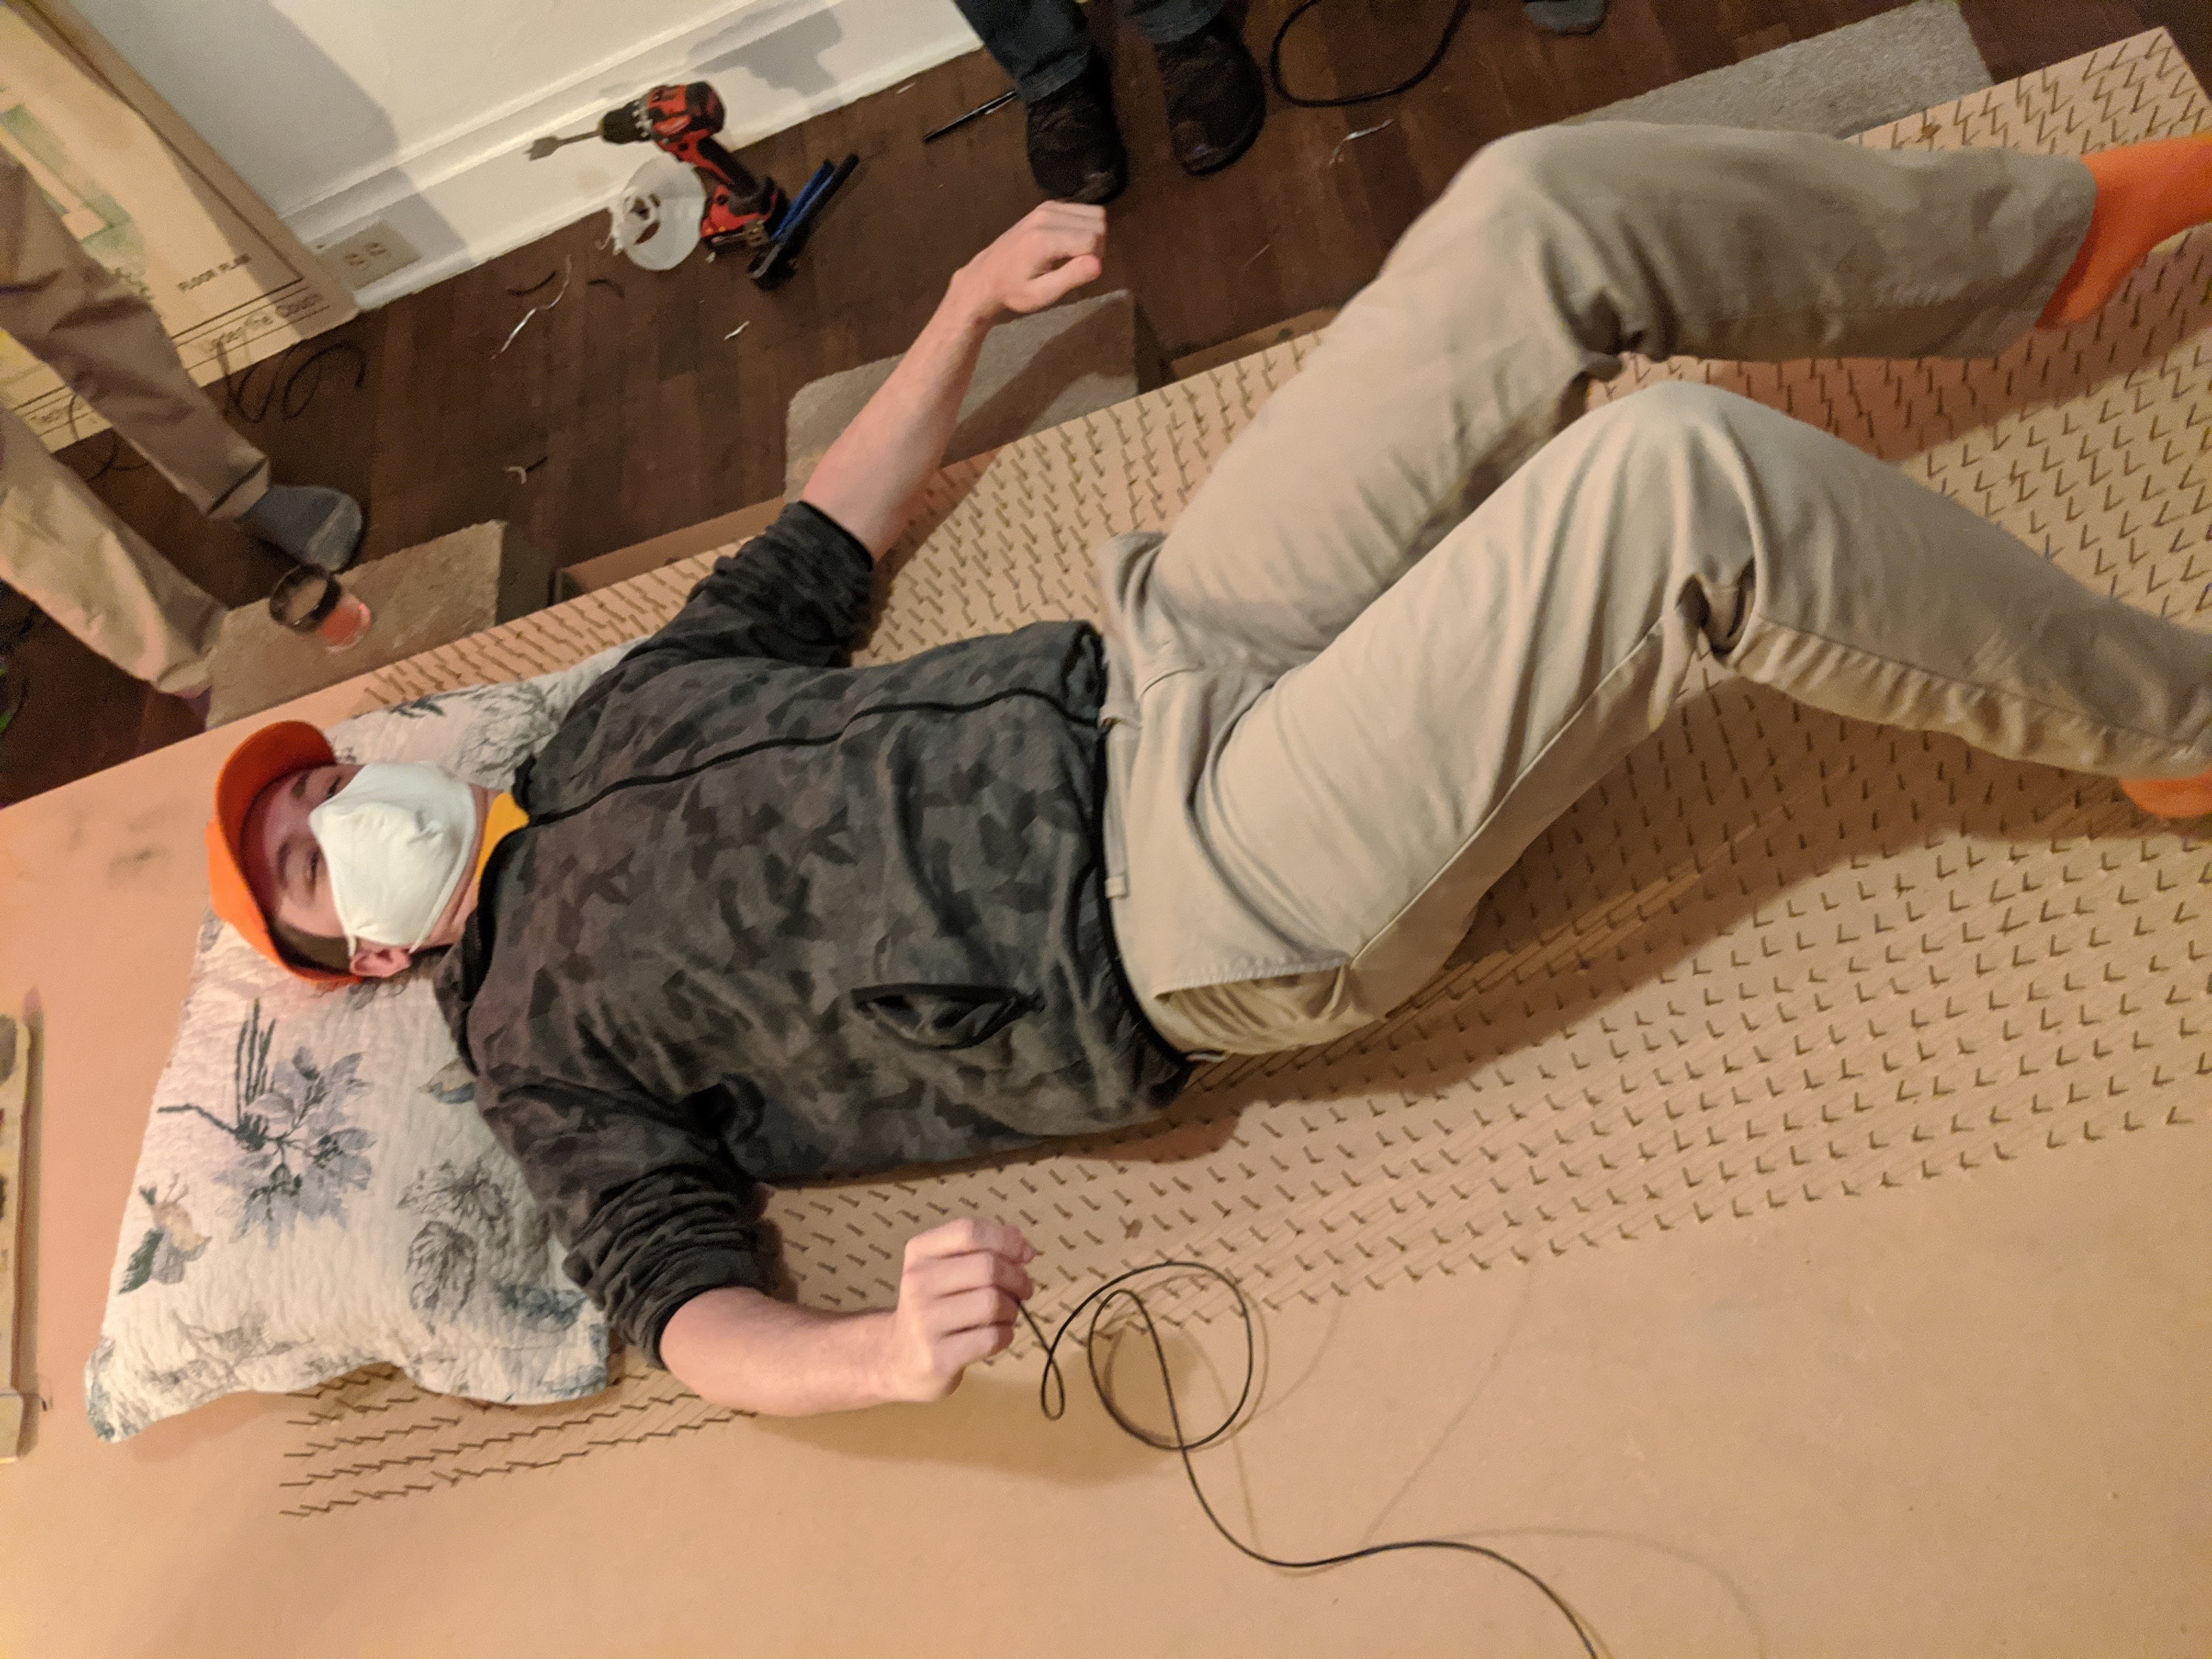
This is the most difficult part. You have to be sure to never put too much pressure on any individual part of your body. Adding a pillow into the mix helped significantly, as we could put pressure on our heads, arch our backs, and slowly move onto the nails. Once on the Moog Bed, use your hands and forearms to control the VCO and VCF's (make sure your sleeves are pulled up). Your feet will be used to control the keyboard, and a sort of flat foot method provides for maximal control.